
Encaustic Repairs Online Course
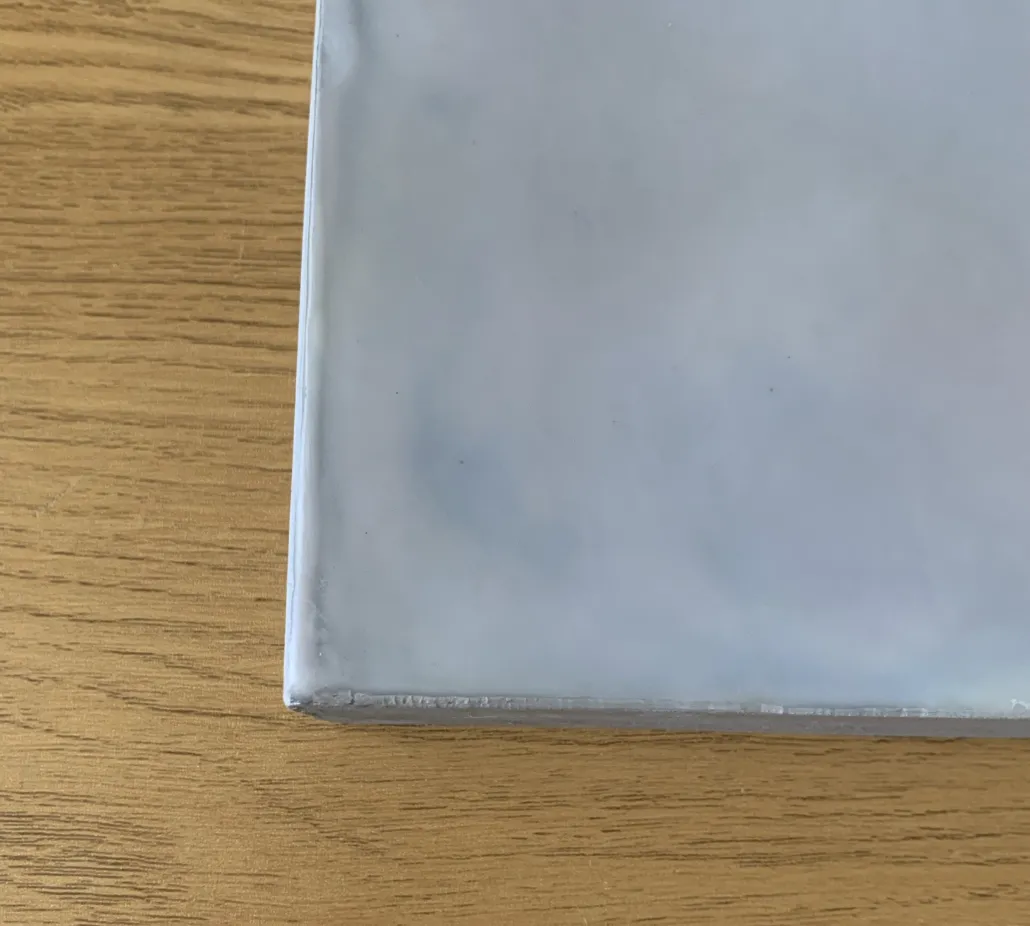
Accidents happen, and the beauty of encaustic is that unlike many other mediums, it can often be repaired by re-heating the wax.
If you have a damaged encaustic painting that is in need of repair, I always recommend you go back directly to the artist to discuss repair options.
Sometimes, that isn't possible, and that's why I've created this resource to help you through some of the ways you could try to repair the damage yourself.
I often receive requests to give guidance to people on how to repair paintings. Encaustic repair is tricky, it has many potential variables, and isn’t something that can be explained simply over an e-mail from a photograph.
This resource explains some of the things to look out for. How you could approach a repair, tools you might need, different ways to attempt the repair - there's never one single way, it's a case of establishing which is the most suitable for your individual case.
There are never any guarantees on repair, as each painting is individual and presents a different challenge each time.
I accept no liability if a repair does not work, or potentially devalues a painting.
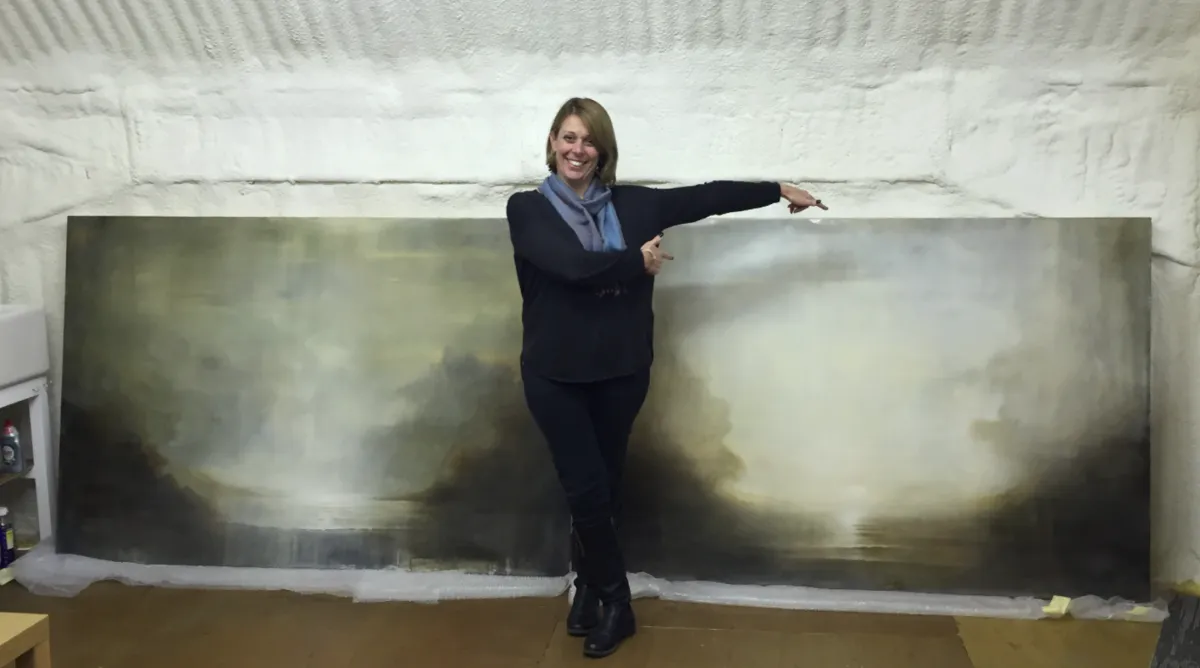
However... I have successfully repaired a number of valuable encaustic paintings belonging to other artists now. Inside this course, I share close ups of the damage encountered and process I went through to repair each one.
This set of videos should give you enough options, and confidence, to attempt to repair the painting yourself when it's not possible to go back to the original artist.
After you have watched the explanatory videos, I walk you through how to test out encaustic painting on a practice piece for yourself, and some mock repair exercises to gain confidence, before moving onto your actual damaged painting.
There are additional options for extra support from me should you need it. Also, check out my testimonials below.
View inside the Course Content here...
Press Play on the Video Below...
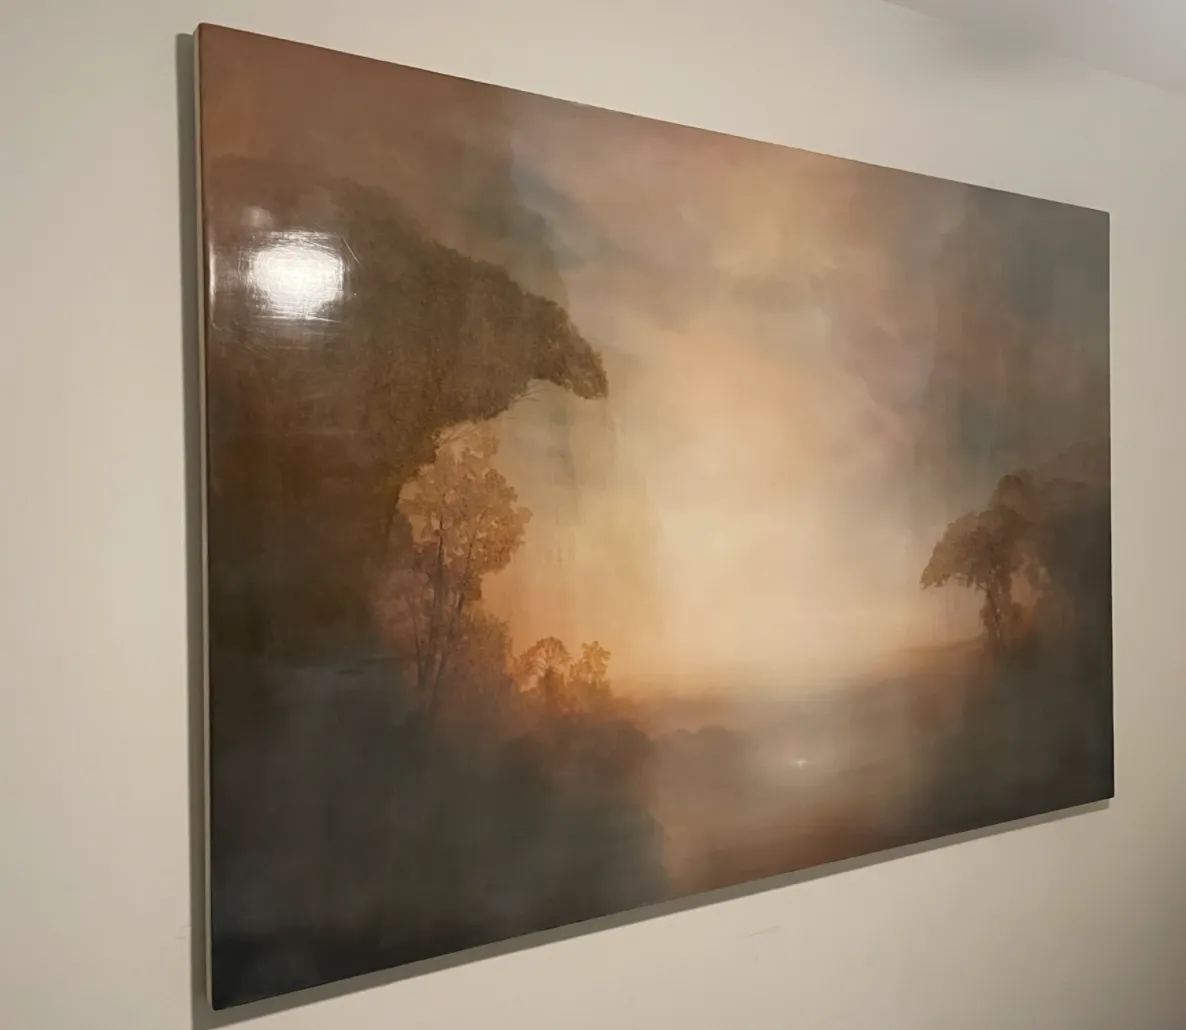
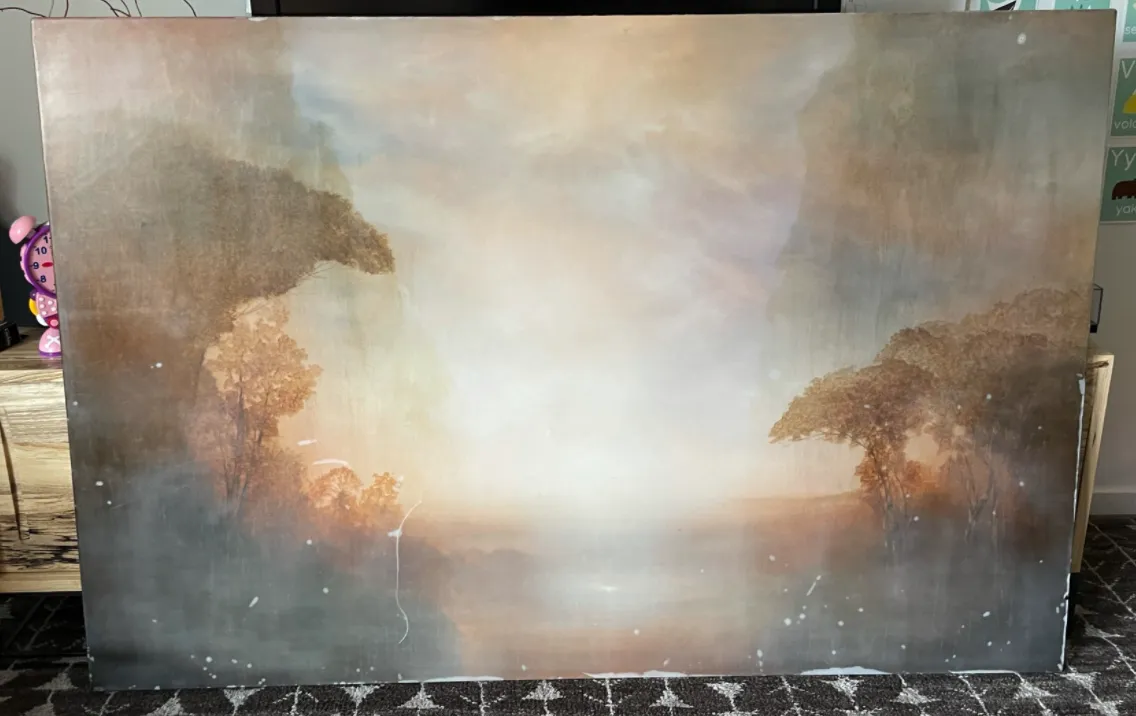
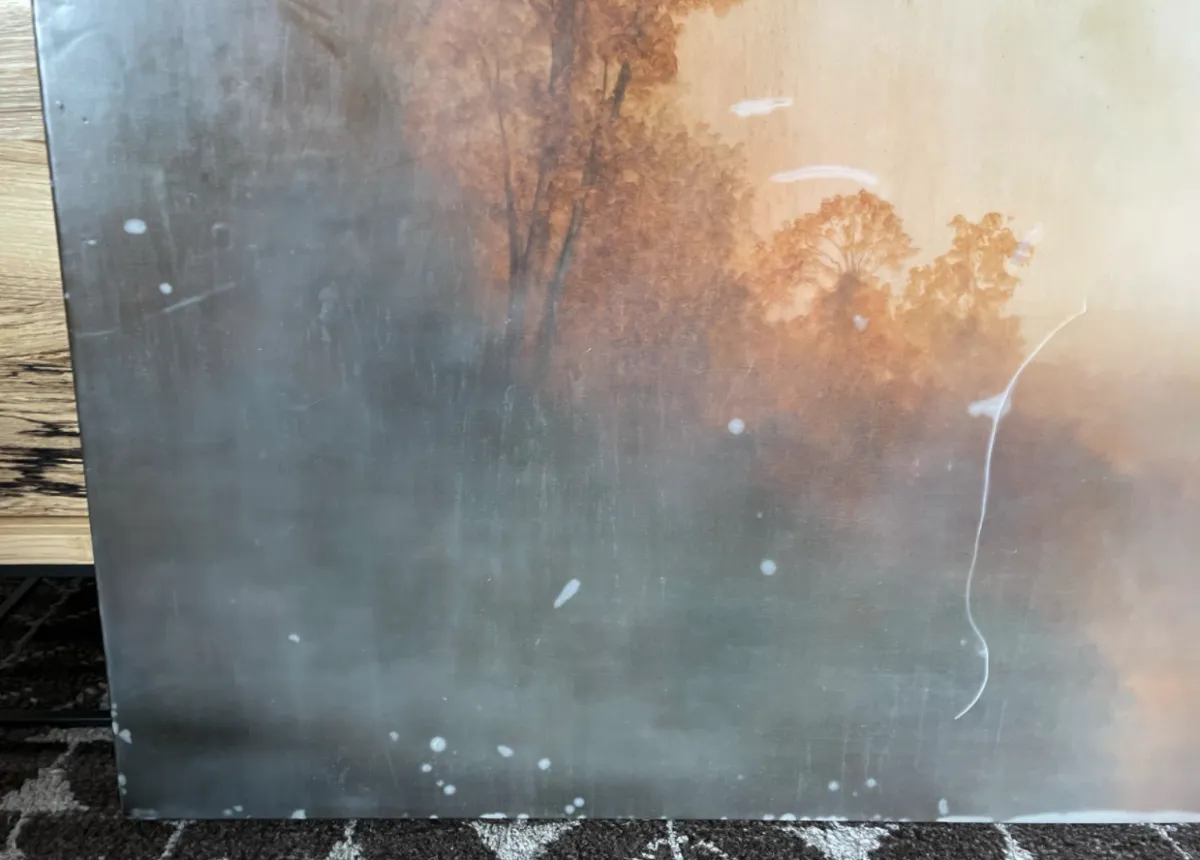
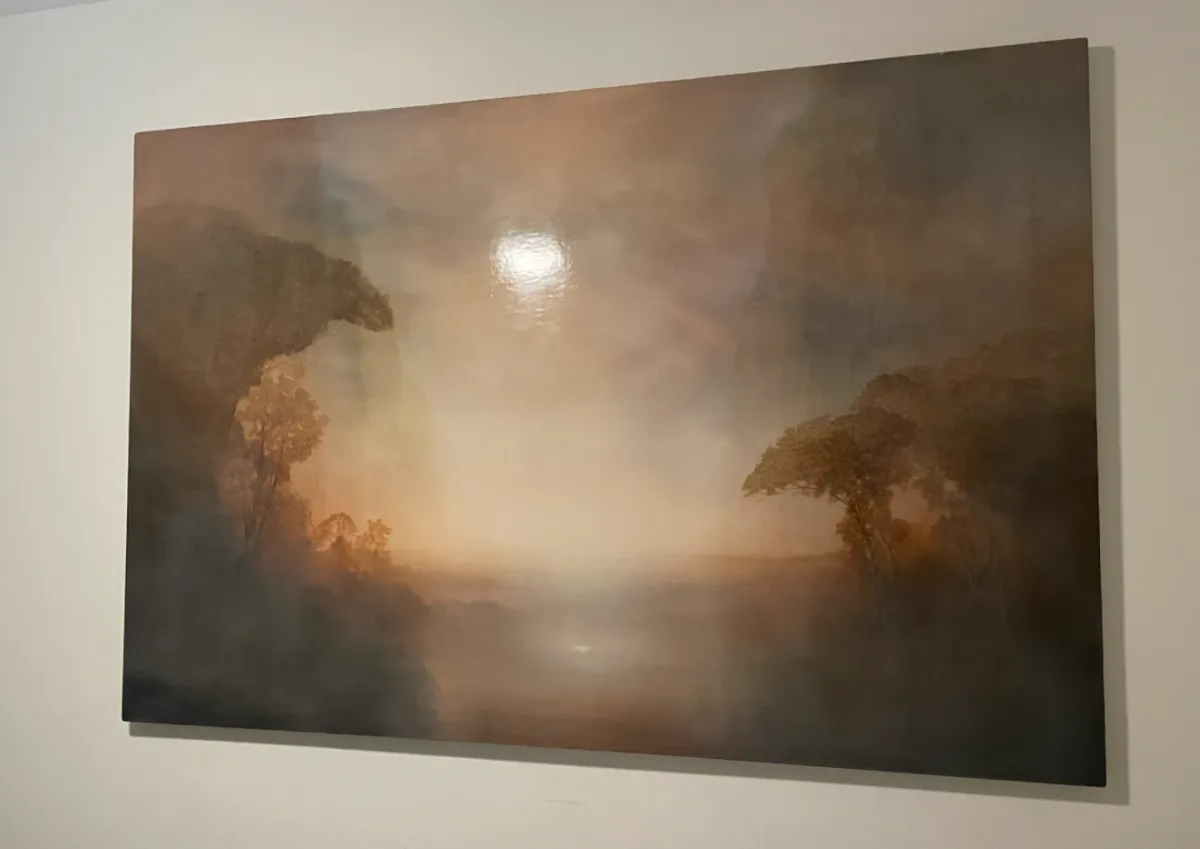
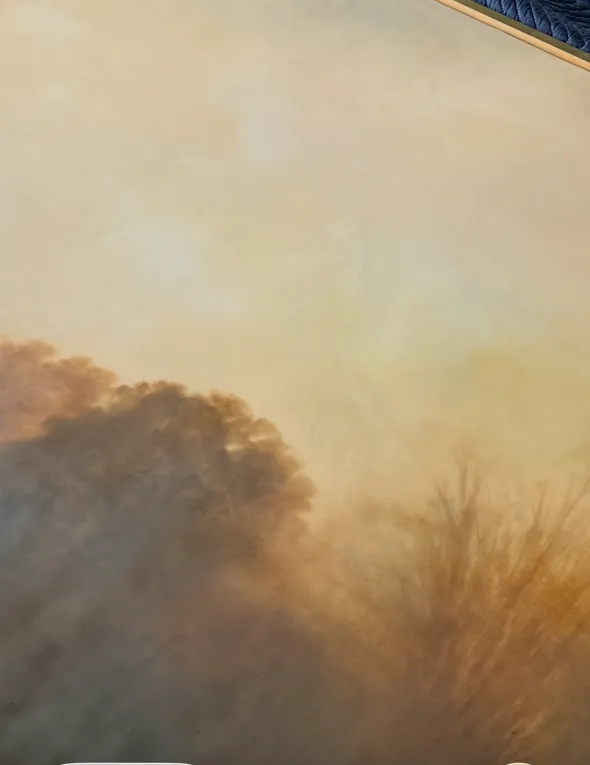
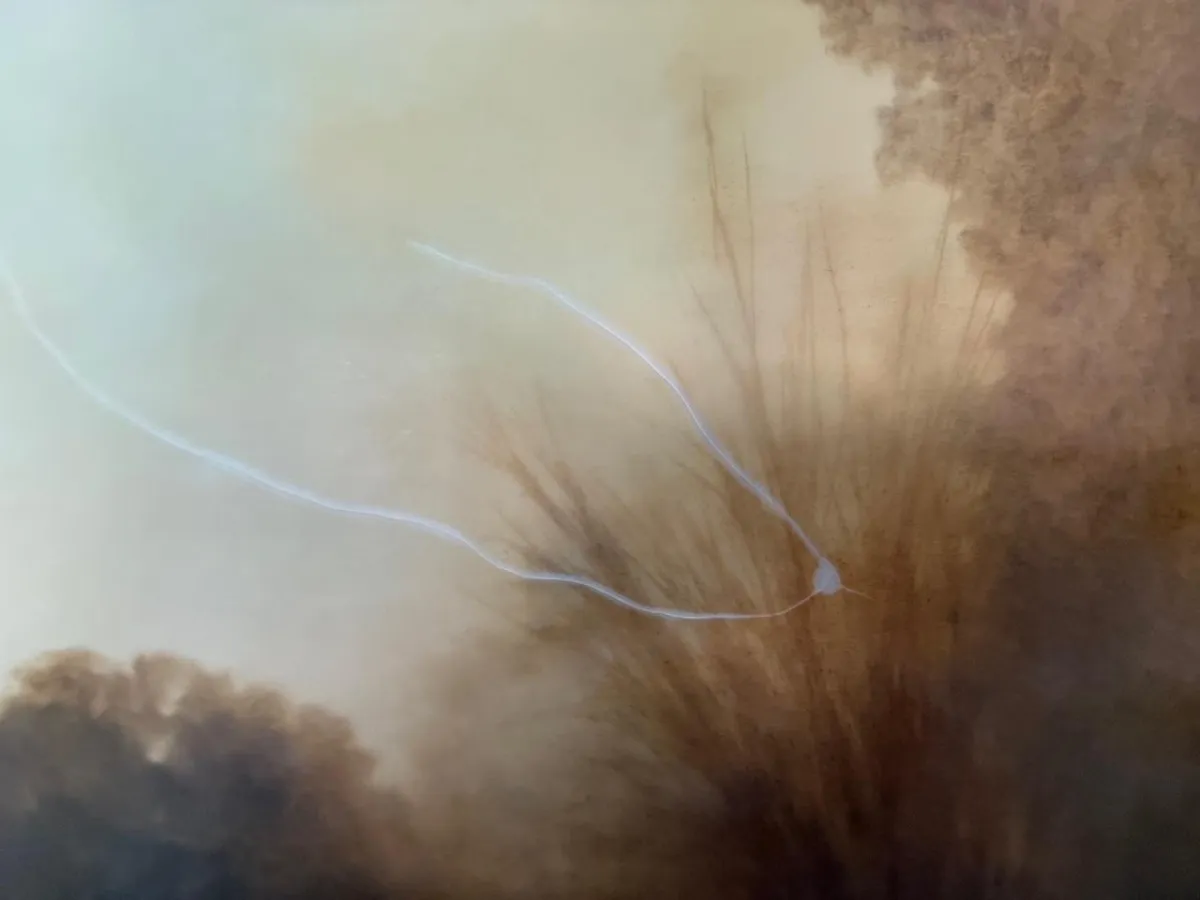
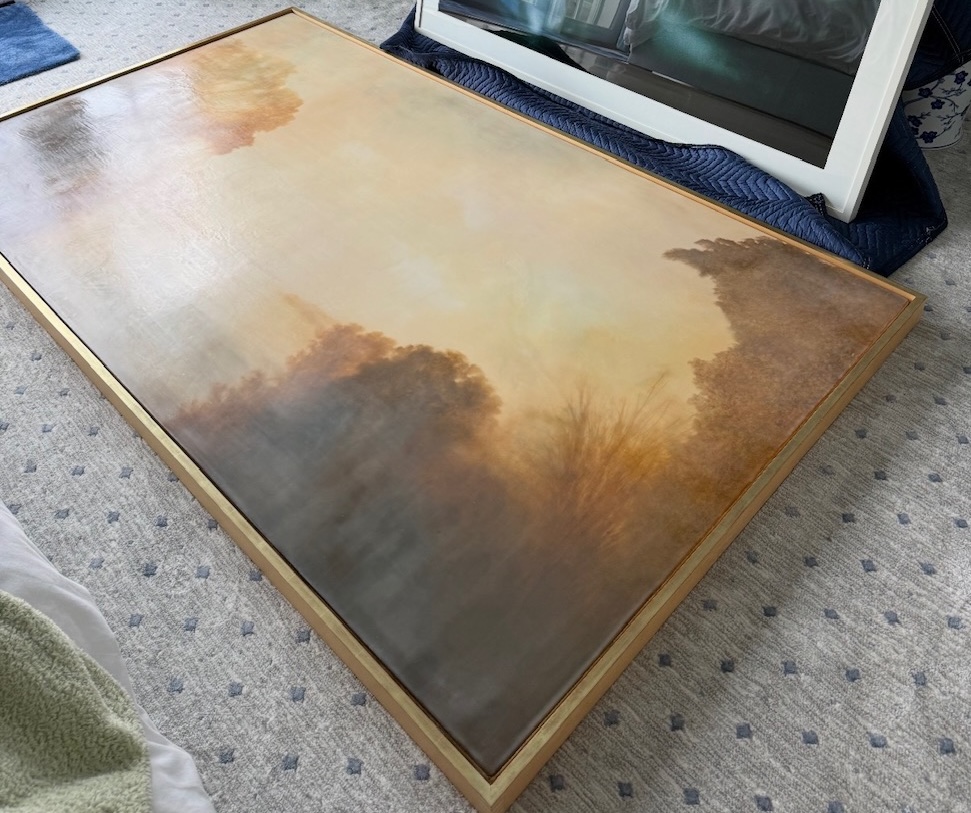
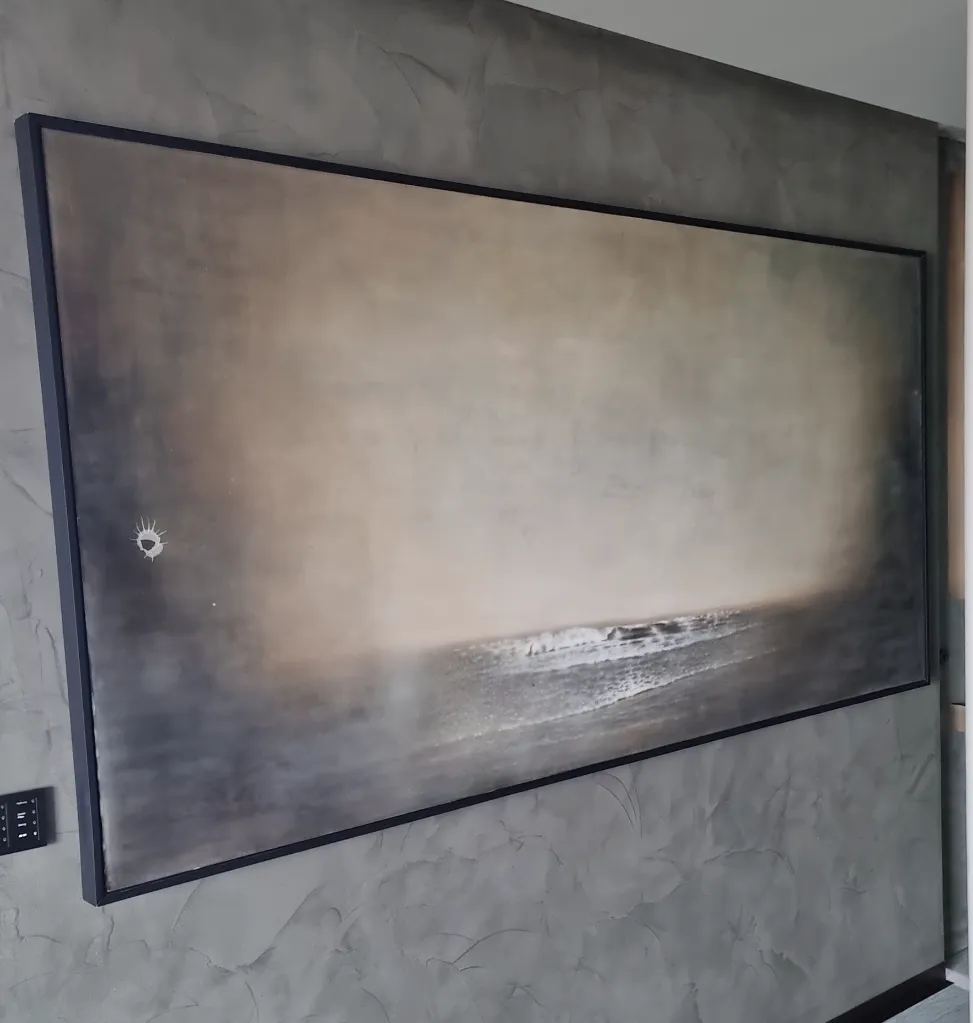
Testimonial - Hiro Yokose Repair
Client, USA
"I've been going slowly with this project and am still not 100% where I want to be--but I'm close! My wife is floored that it's come as far as it has, but I don't think it's perfected quite yet.
Most of the work was fairly straightforward, and as you specified in your coursework. I went slowly, and managed to get almost all the repairs done with low heat heat gun repetition and a lot of polishing with a microfiber cloth--which, as you indicated in your blogs, is incredibly cathartic work. I spent hours with it, thinking of nothing but the process.
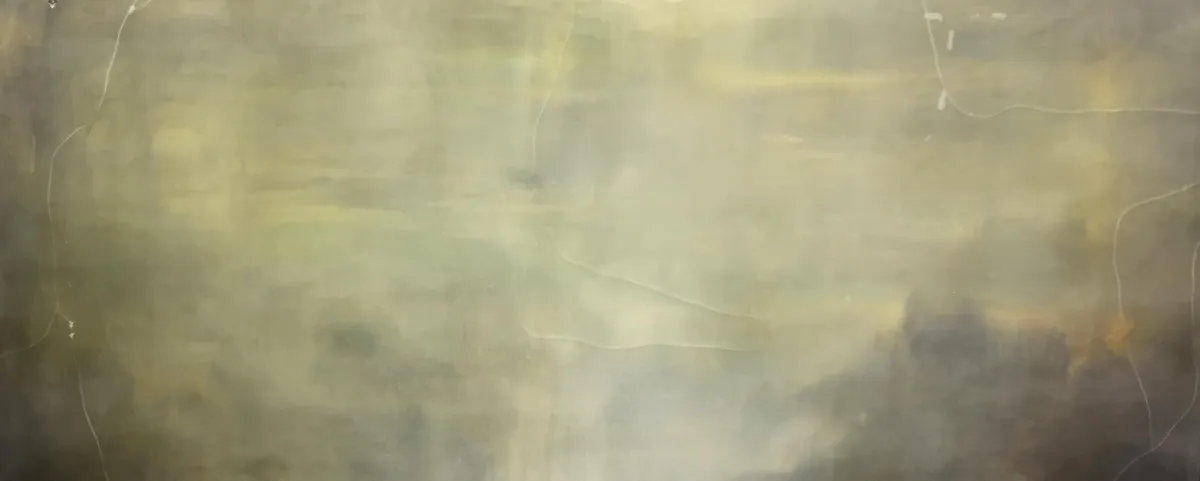
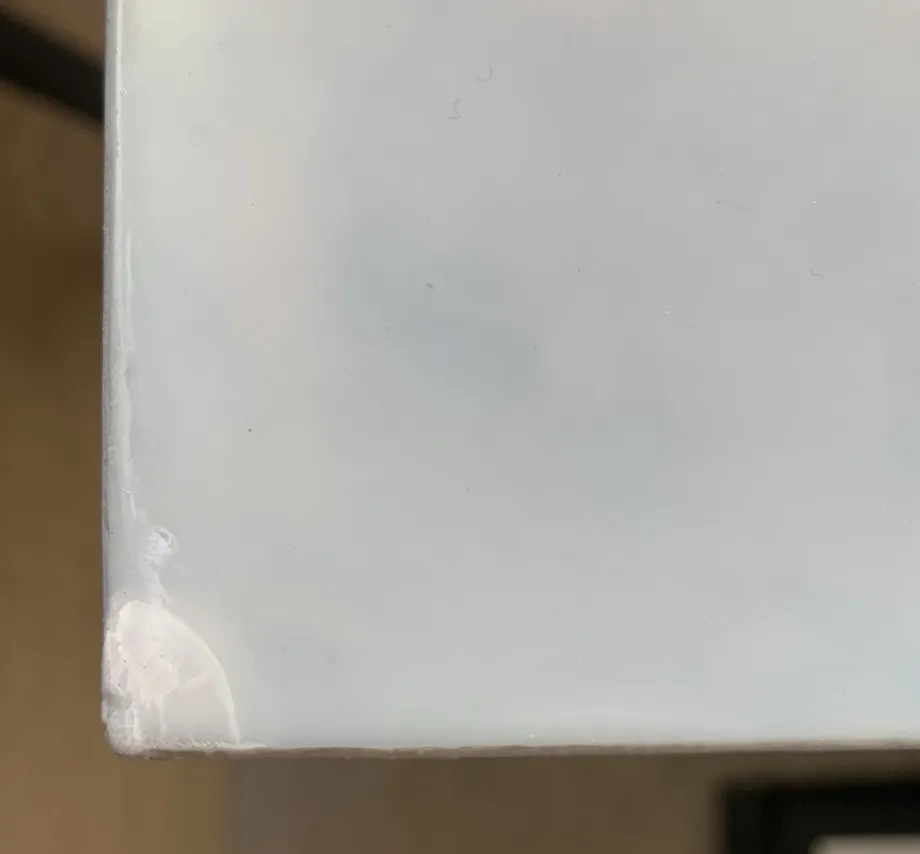
Anyway, the areas that were tricky were the ones where there were cracks or significant breaks. As you know, those take a while, and the beeswax has to be heated to a point of liquidation where the air under often forms a gap. eventually it settles down, but often you're left with some unevenness in that area that takes time to work out. For me, there was a significant crack in the lower middle of the piece that was the trouble spot, along with a couple of the larger white separation pockets.
I'm attaching some pictures that show it before and after. Thanks again for your help with this. I'm happy to be part of your story if you'd like, as I'd like to think of myself as a student of yours that was able to successfully replicate your process on another Yokose piece. :) "
Testimonial - Hiro Yokose Repair
Olivia - New York, USA
"Thank you Julie for your course and 1-1 video call - I’ve repaired the cracks and feel like the painting looks better. FYI the gallery that sold me the painting gave me an estimate of $13,000!!!! US to pick up
and repair the piece! Shocking!! Feel free to use my images and anything I’ve written in emails as my testimonial - thanks again."
More clients have been successful in repairing their paintings
using the resources in this course...
Not all want to share their repairs publicly, which is always respected...
If you're happy to, I'd love to add your damaged painting to my client success list!
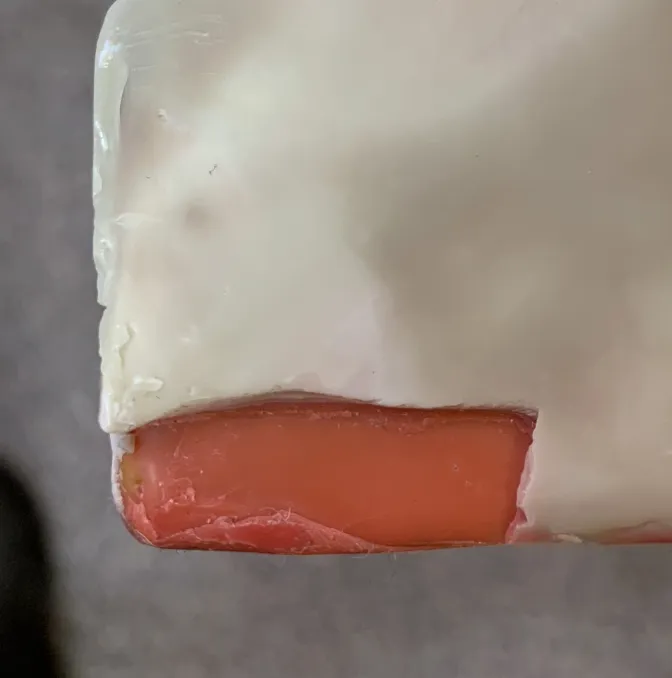
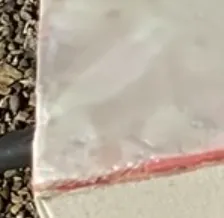
More Restorations...
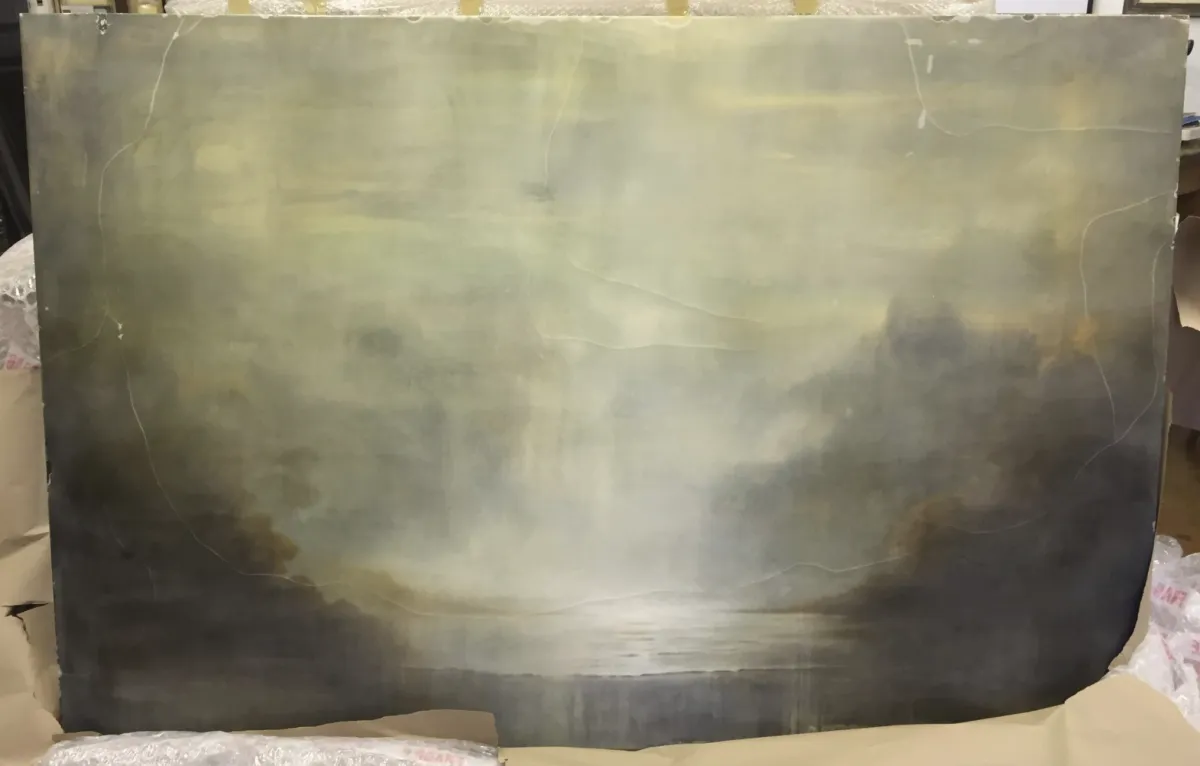
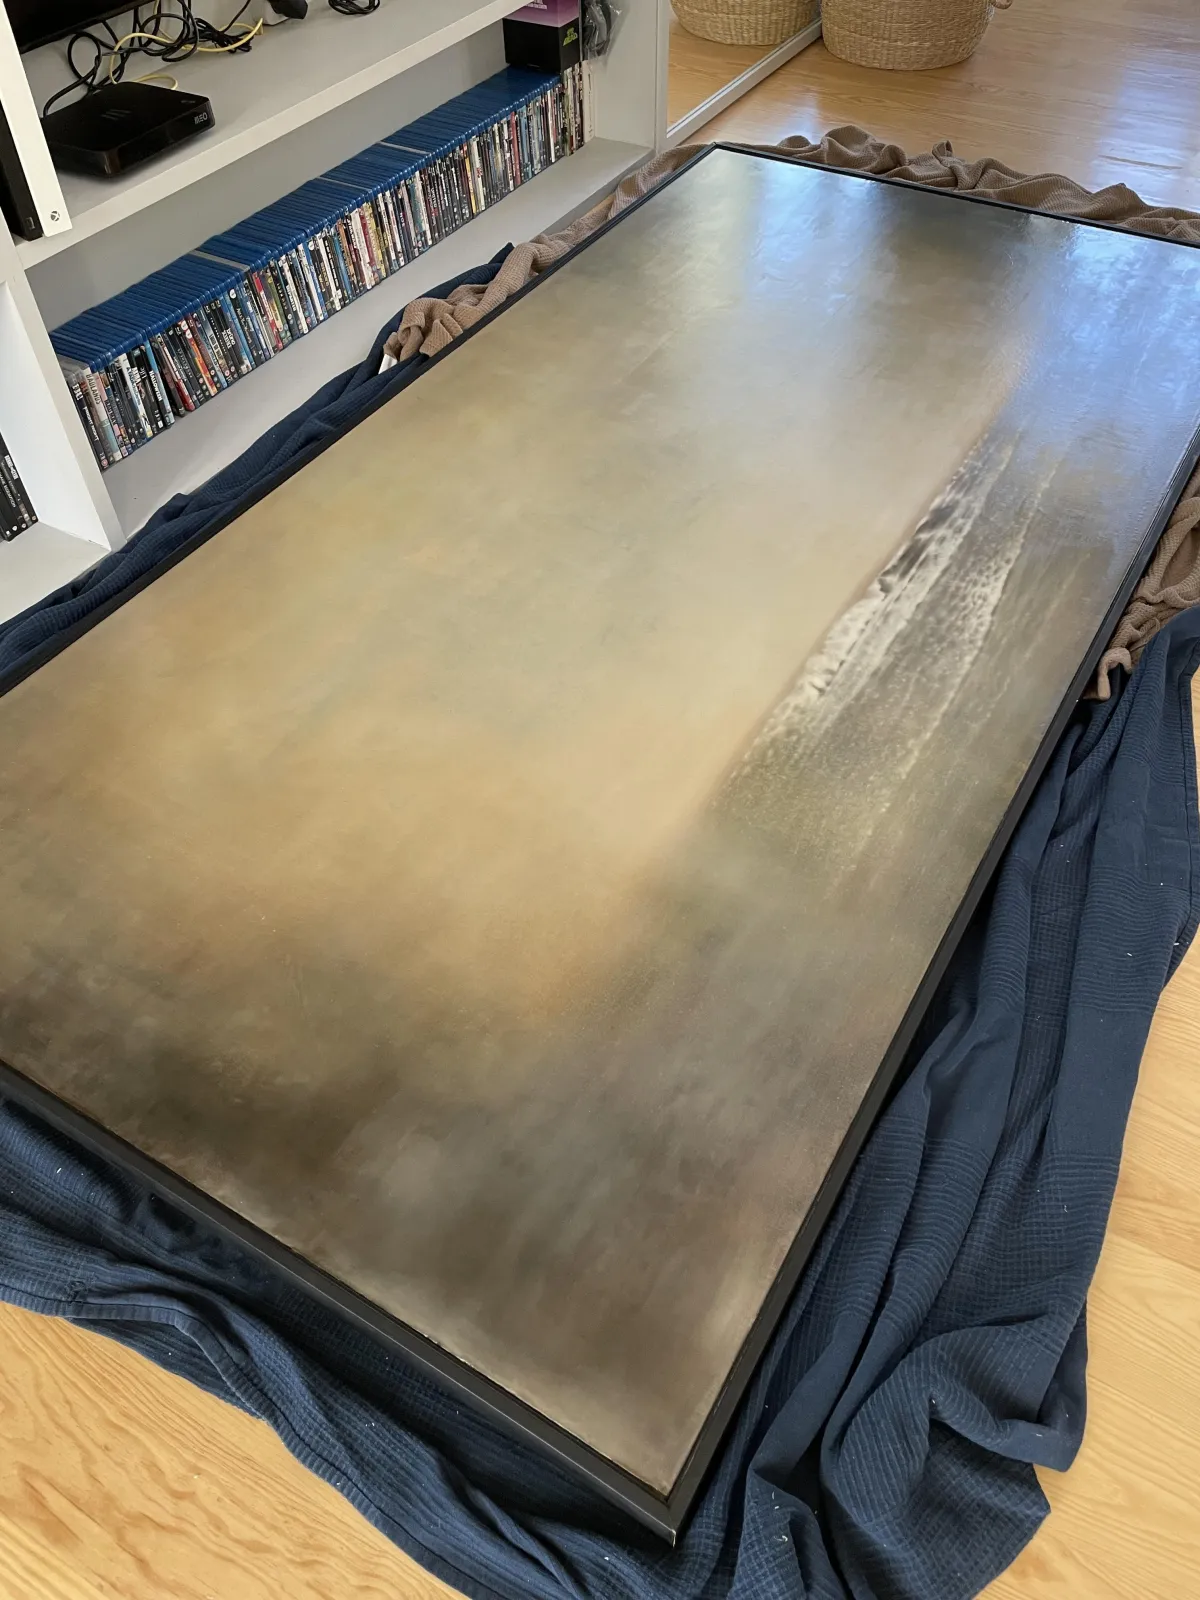
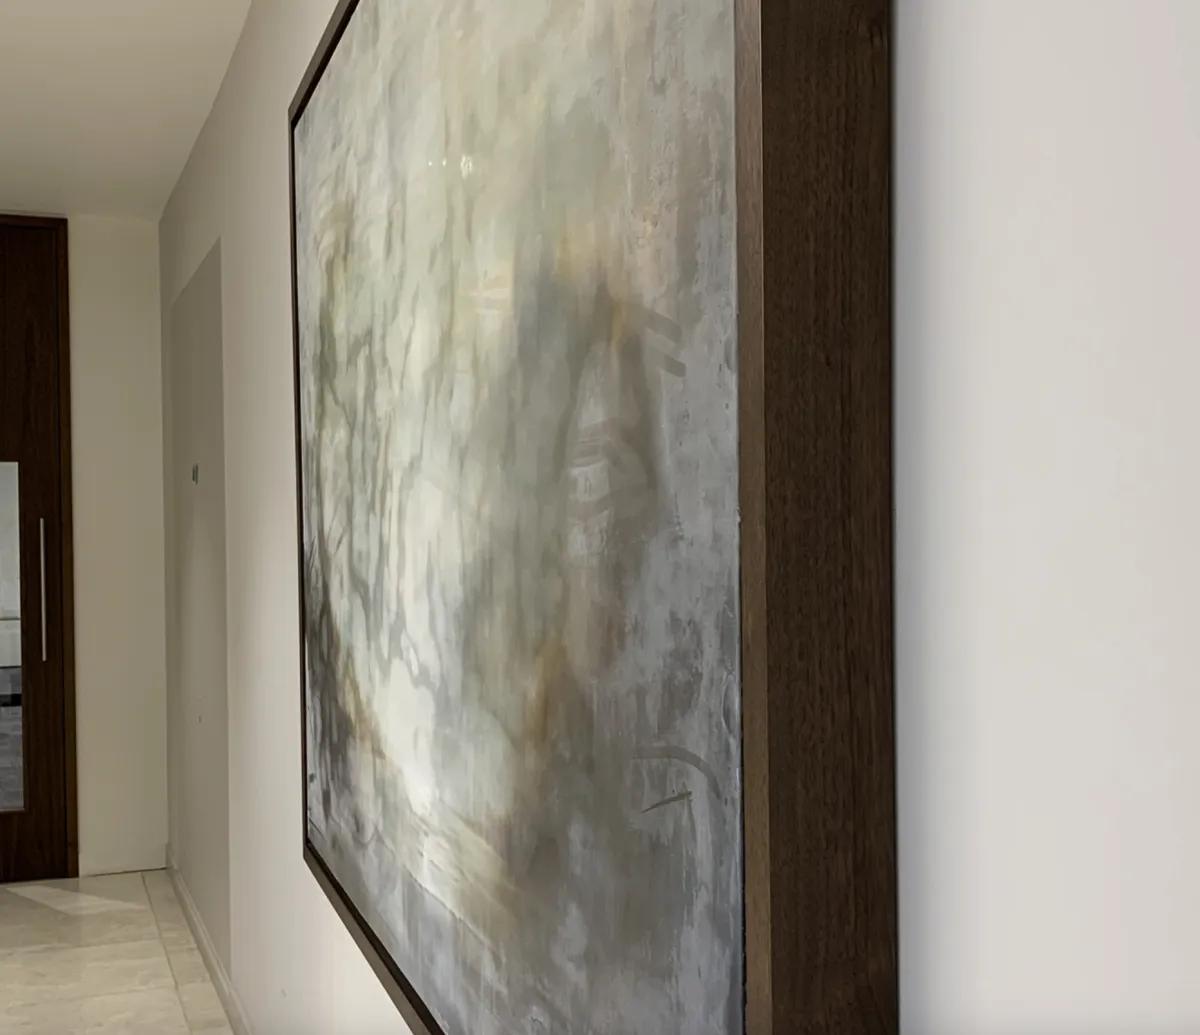
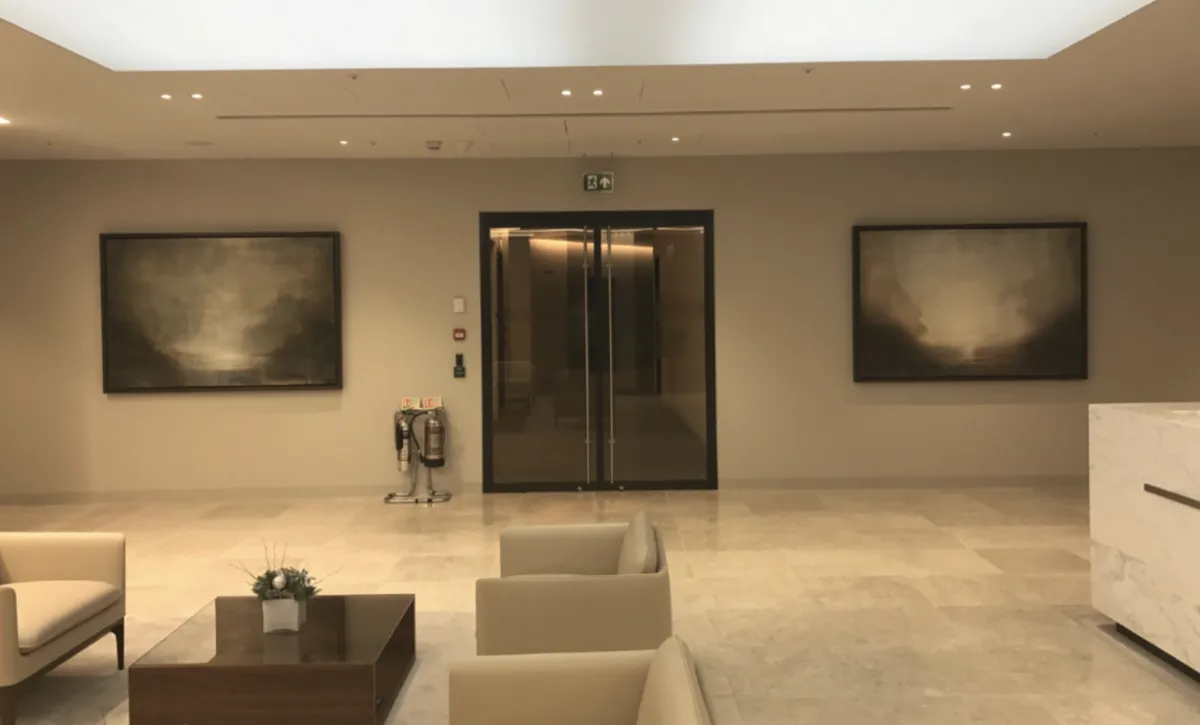
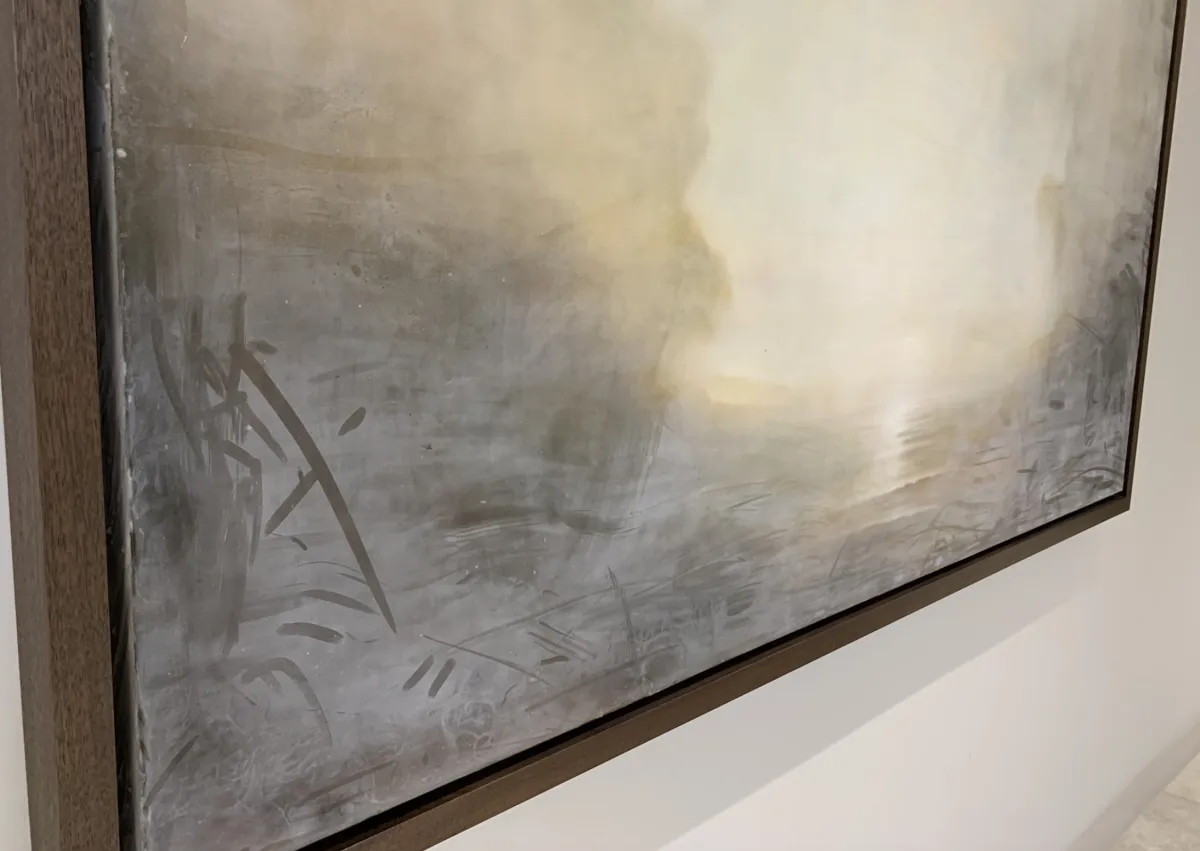
Here are some photos of other repairs I've carried out over the years.
You will find explanations of how I've gone about repairing them inside the course.
I understand how scary repairing a painting can be!
Even now, I'm always anxious before working on a piece... but once I start,
and respond to what's in front of me, it works.
You can do this too...
You just need to work slowly and methodically... With some guidance.
Inside the course, I walk you through some practice exercises on a test piece before we start on your actual painting.
This gives you the confidence and understanding of how wax behaves.
From there, we begin.
If you need additional support, there's the option to book 1-1 Zoom calls with me,
talk your specific circumstances through. Together, we'll get that painting restored.
When purchasing this course, you understand that Julie Wrathall / Arty Heaven accepts no liability should a repair not go to plan, or potentially devalues a painting
If you have questions you can contact me: julie@artyheaven.com
